


Making a simple solar collector with their own hands, step by step instructions
Solar collectors are a great way to save energy resources. Free solar energy can provide warm water for household needs for at least 6-7 months a year. And the rest of the months will also help the heating system.
But most importantly, a simple solar collector (as opposed to, for example, solar panels) can be made your own. To do this you will need materials and tools that you can buy in most construction stores. In some cases, even what you can find in a normal garage will be enough.
The following technology for assembling a solar heater was used in the project “Turn on the sun – live comfortably”. It was developed specifically for the project by the German company Solar Partner Sued, which is professionally engaged in the sale, installation and service of solar collectors and photovoltaic systems.
The main idea is that everything should be cheap and sulphuric. For the manufacture of the collector uses fairly simple and common materials, but its efficiency turns out to be quite acceptable. It is lower than the factory models, but the price difference fully compensates for this disadvantage.
There are different types of solar water heaters, but they are all based on a simple principle: the dark surface “absorbs” solar energy, then this heat is transferred to the heat carrier (water). The simplest models can be built from available materials and do not require pumps or other electrical equipment. An efficient solar collector can even be used in winter due to the use of non-freezing fluids – antifreeze.
The described solar collector system is passive and does not depend on electricity. It does not need any electrical appliances. The hot liquid moves between the collector and the tank according to the principle of convection, thanks to a simple rule: the heated liquid always rises up.
The working principle of such a solar collector is as follows:
The sun heats the liquid in the collector
The heated liquid rises through the collector and the pipe into the storage tank
When the hot liquid enters the heat exchanger installed in the water tank, the heat is transferred from the heat exchanger to the water
The fluid in the heat exchanger, as it cools, travels downward in a spiral and flows from the hole in the bottom of the tank back to the manifold
The water heated in the tank accumulates in the upper part of the tank
Cold water from the water mains / reservoir flows into the bottom of the tank
Heated water is withdrawn through the outlet at the top of the tank.
While the sun is shining on the collector, the liquid in the absorber pipes is heated, moving into the tank and thus constantly circulating. This process ensures that the water in the tank is heated in just a few hours with intense solar radiation.
schematic diagram of a solar collector
The main element of the heating collector is the absorber. It consists of a metal sheet welded to metal pipes. Several pipes are installed vertically and are welded to two larger diameter pipes located horizontally. These thicker pipes for the fluid inlet and outlet must be parallel to each other. And the fluid inlet (bottom of the absorber) and the outlet (top of the absorber) should be on different sides of the panel (diagonally). For connections in thick pipes, holes must be drilled to match the diameter of the vertical pipes.
For better heat transfer from the metal plate to the pipes, it is very important to ensure maximum contact between the plate and the pipes. Welding should be along the entire element. It is important that the metal plate and pipes fit tightly together.
pipes for the solar water heater
Absorber is placed in a wooden frame and covered with glass, which protects the collector and creates a greenhouse effect inside. Normal window glass is used. The optimum thickness is 4 mm, while maintaining a good ratio of reliability to weight. It is desirable to divide the desired area of glass into several parts. It is more convenient and safer to work with it.
Using several layers of glass or double-glazed glass will give an increase in efficiency, but will increase the weight of the construction and the cost of the system.
The sun’s rays pass through the glass and heat the collector, and the glazing prevents heat from escaping. Glass also prevents air movement in the absorber without it, the collector would quickly lose heat to wind, rain, snow, or low outside temperatures.
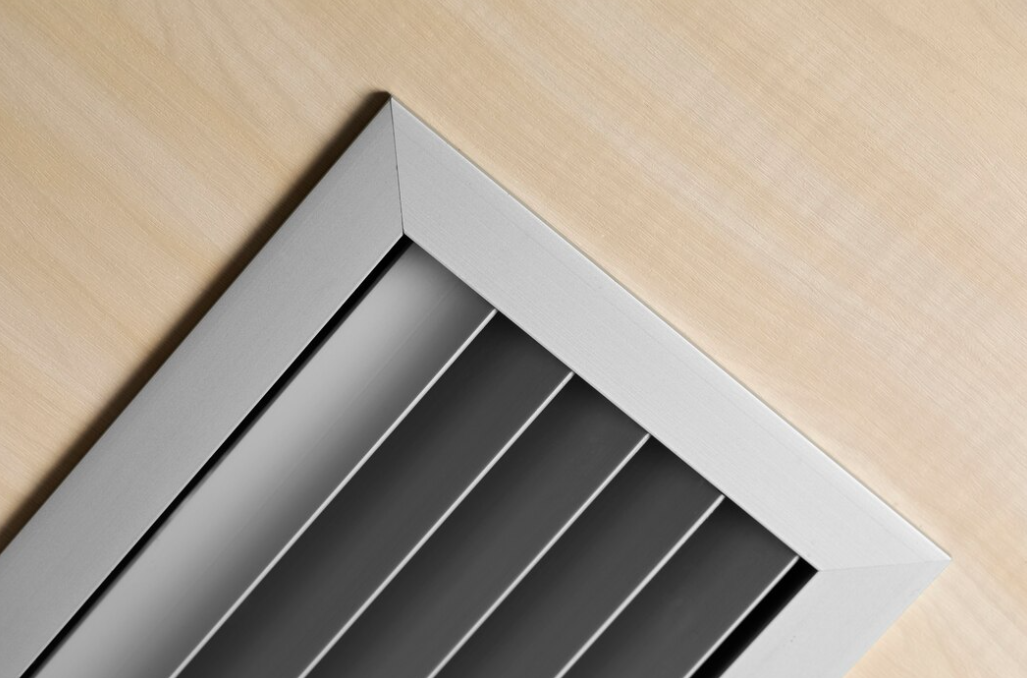
Through-holes are made in the casing to allow the cold liquid to flow in and the heated liquid to flow out of the collector.
The absorber itself is painted with a heat-resistant coating. Ordinary black paints begin to flake or evaporate at high temperatures, causing the glass to darken. The paint must dry completely before you fix the glass coating (to prevent condensation).
Under the absorber, insulation is placed. Most often mineral wool is used. The main thing is that it can withstand quite high temperatures during the summer (sometimes over 200 degrees).
From below, the frame is closed with OSB board, plywood, boards, etc. The main requirement for this step is to make sure that the bottom of the collector is securely protected from moisture inside.
To fix the glass in the frame, make grooves, or attach strips on the inside of the frame. When calculating the size of the frame, keep in mind that as the weather changes (temperature, humidity) during the year, its configuration will change slightly. Therefore, on each side of the frame leave a few millimeters of reserve.
A rubber window seal (D- or E-shaped) is attached to the groove or bar. On it the glass is put, on which in the same way the sealant is applied. On top of it all is secured with galvanized sheet metal. Thus, the glass is firmly fixed in the frame, the seal protects the absorber from cold and moisture, and the glass will not be damaged when the wooden frame is “breathing”.
The joints between the sheets of glass are insulated with a sealant or silicone.
To organize the solar heating of your home, you will need a storage tank. This is where the water heated by the collector is stored, so it is worth taking care of its thermal insulation.
As a tank can be used:
non-working electric boilers
various gas cylinders
barrels for food use
The main thing – remember that in a sealed tank will create pressure, depending on the pressure of the water system, to which it will be connected. Not every tank is capable of withstanding pressure of several atmospheres.
The tank makes holes for the inlet and outlet heat exchanger, the input of cold water, and the intake of heated water.
Diagram of the storage tank for a solar collector
A spiral heat exchanger is placed in the tank. Copper, stainless steel or plastic is used for it. The water heated through the heat exchanger will rise up, so it should be placed in the bottom of the tank.
The manifold is connected to the tank with pipes (e.g. metal or plastic pipes) routed from the manifold to the tank through the heat exchanger and back to the manifold. Here it is very important to prevent heat leakage: the path from the tank to the consumer should be as short as possible, and the pipes should be very well insulated.
solar collector installation
The expansion tank is a very important element of the system. It is an open tank, located at the highest point of the fluid circulation circuit. For the expansion tank can be used as a metal or plastic tank. With its help to control the pressure in the manifold (because the liquid from the heat expands, it can crack the pipes). To reduce heat loss, the tank must also be insulated. If there is air in the system, it can also escape through the tank. The expansion tank also fills the manifold with fluid.
tank
More details about building a cheap solar collector, a list of necessary materials and rules of installation of the heater can be found by downloading the Practical guide on the construction of solar collectors for hot water.